Startup
Rack Power
In the Wall Rack, find the Power Conditioner located at the very top (see Fig. 1).
Flip the switch on the far right to “ON”
This powers up the “things that make the video go” so you should see some blinky lights and other fun activity 🆒
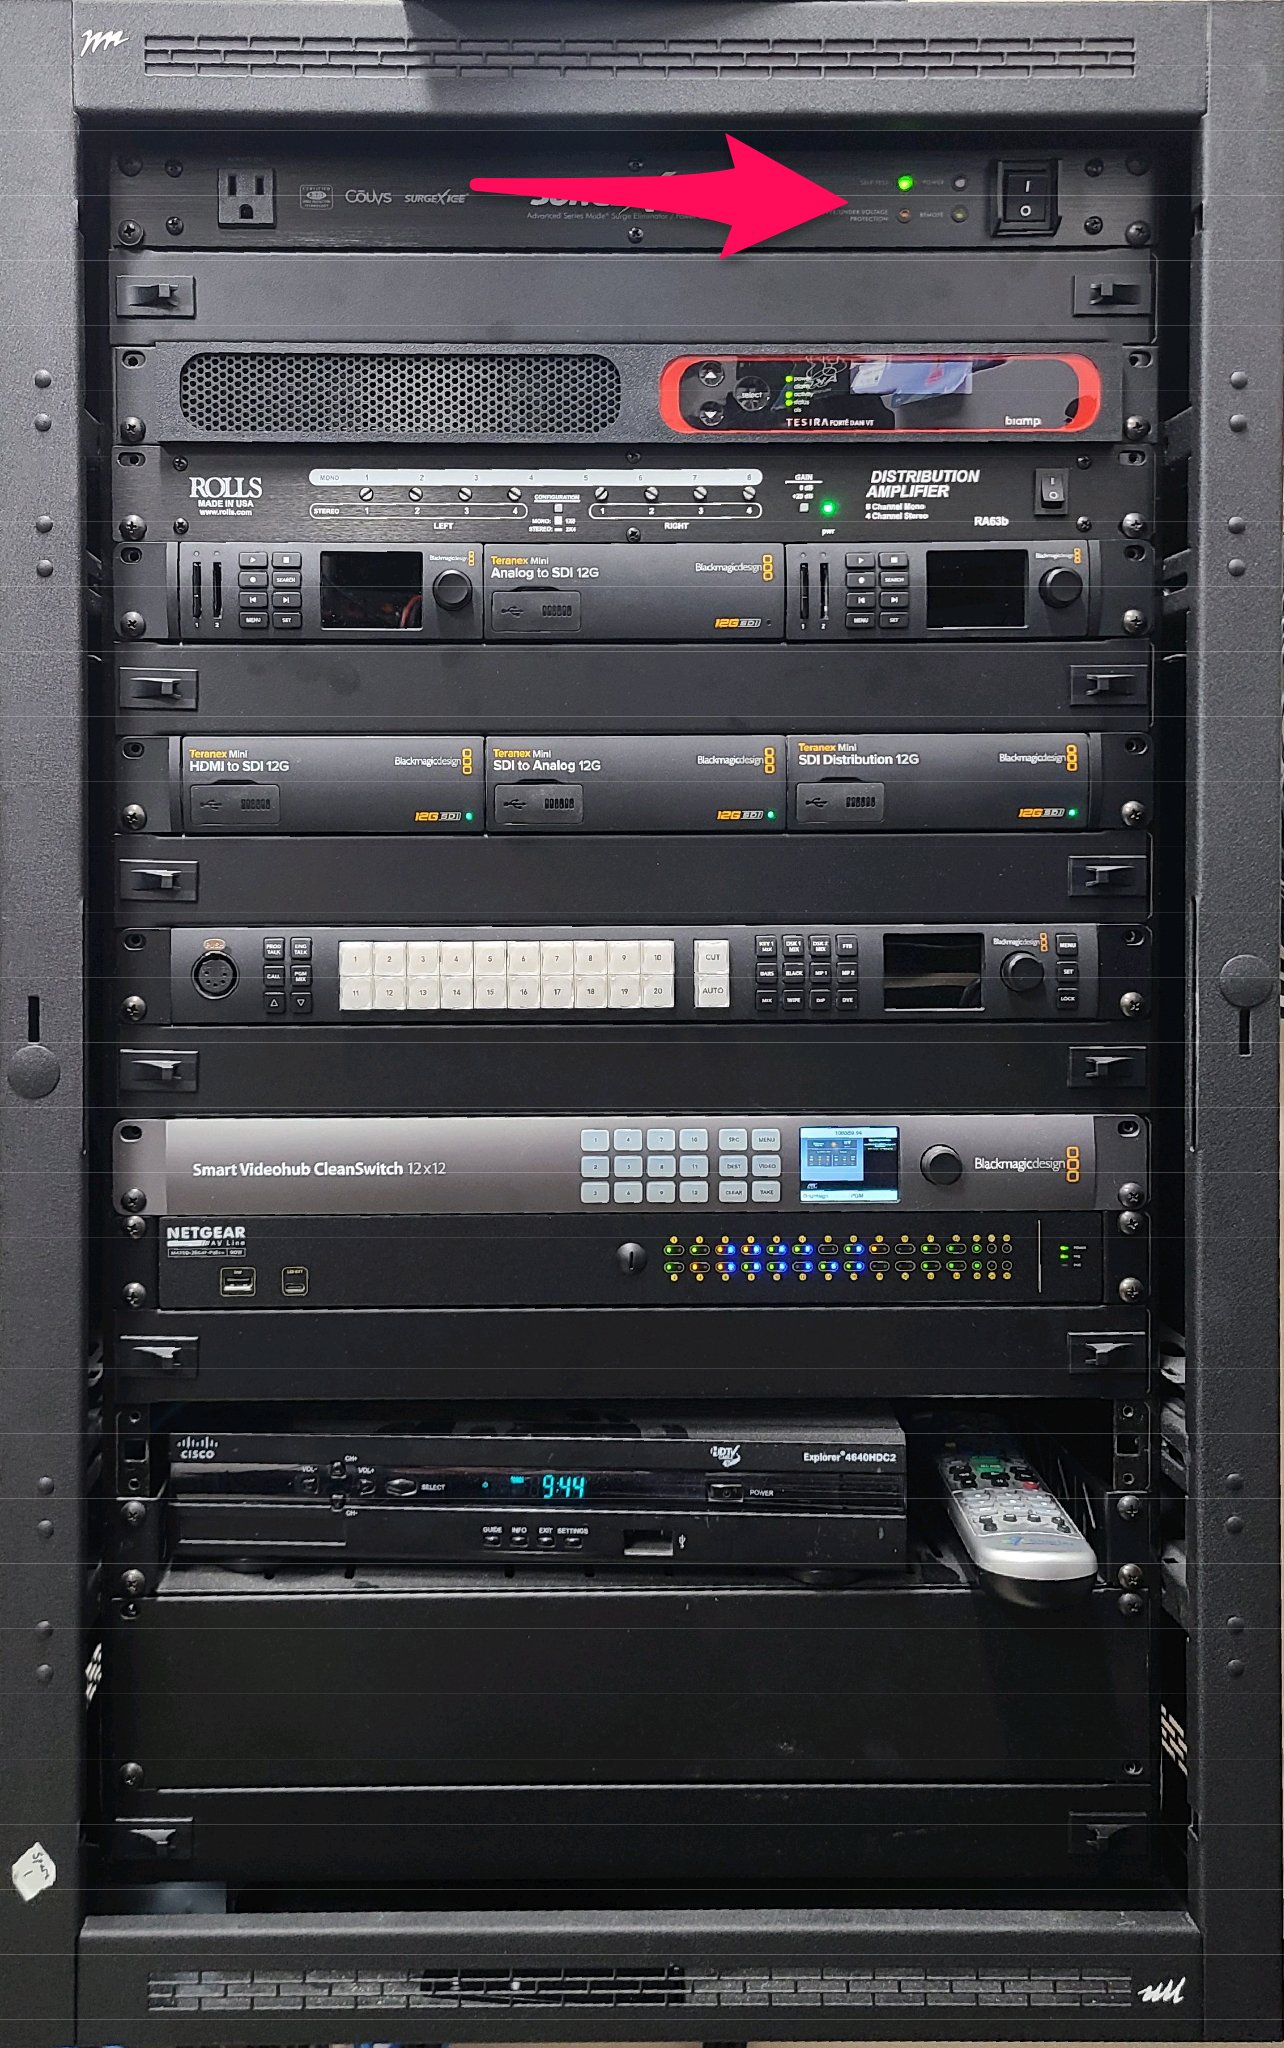
Fig. 1 Rack Power
Controllers
There are two controllers on the desk beneath the window. The one on the left is the Switcher Controller and it controls the Video Switcher. (seems logical, right?) The one on the right is the Camera Controller because well, it controls the cameras 🤭.
Switcher Controller
The Switcher Controller has no power switch, so it has to be plugged in:
On the back, there are two network cables and one of them is slightly unplugged (see Fig. 2)
Plug it in and it will begin to boot up after a few seconds
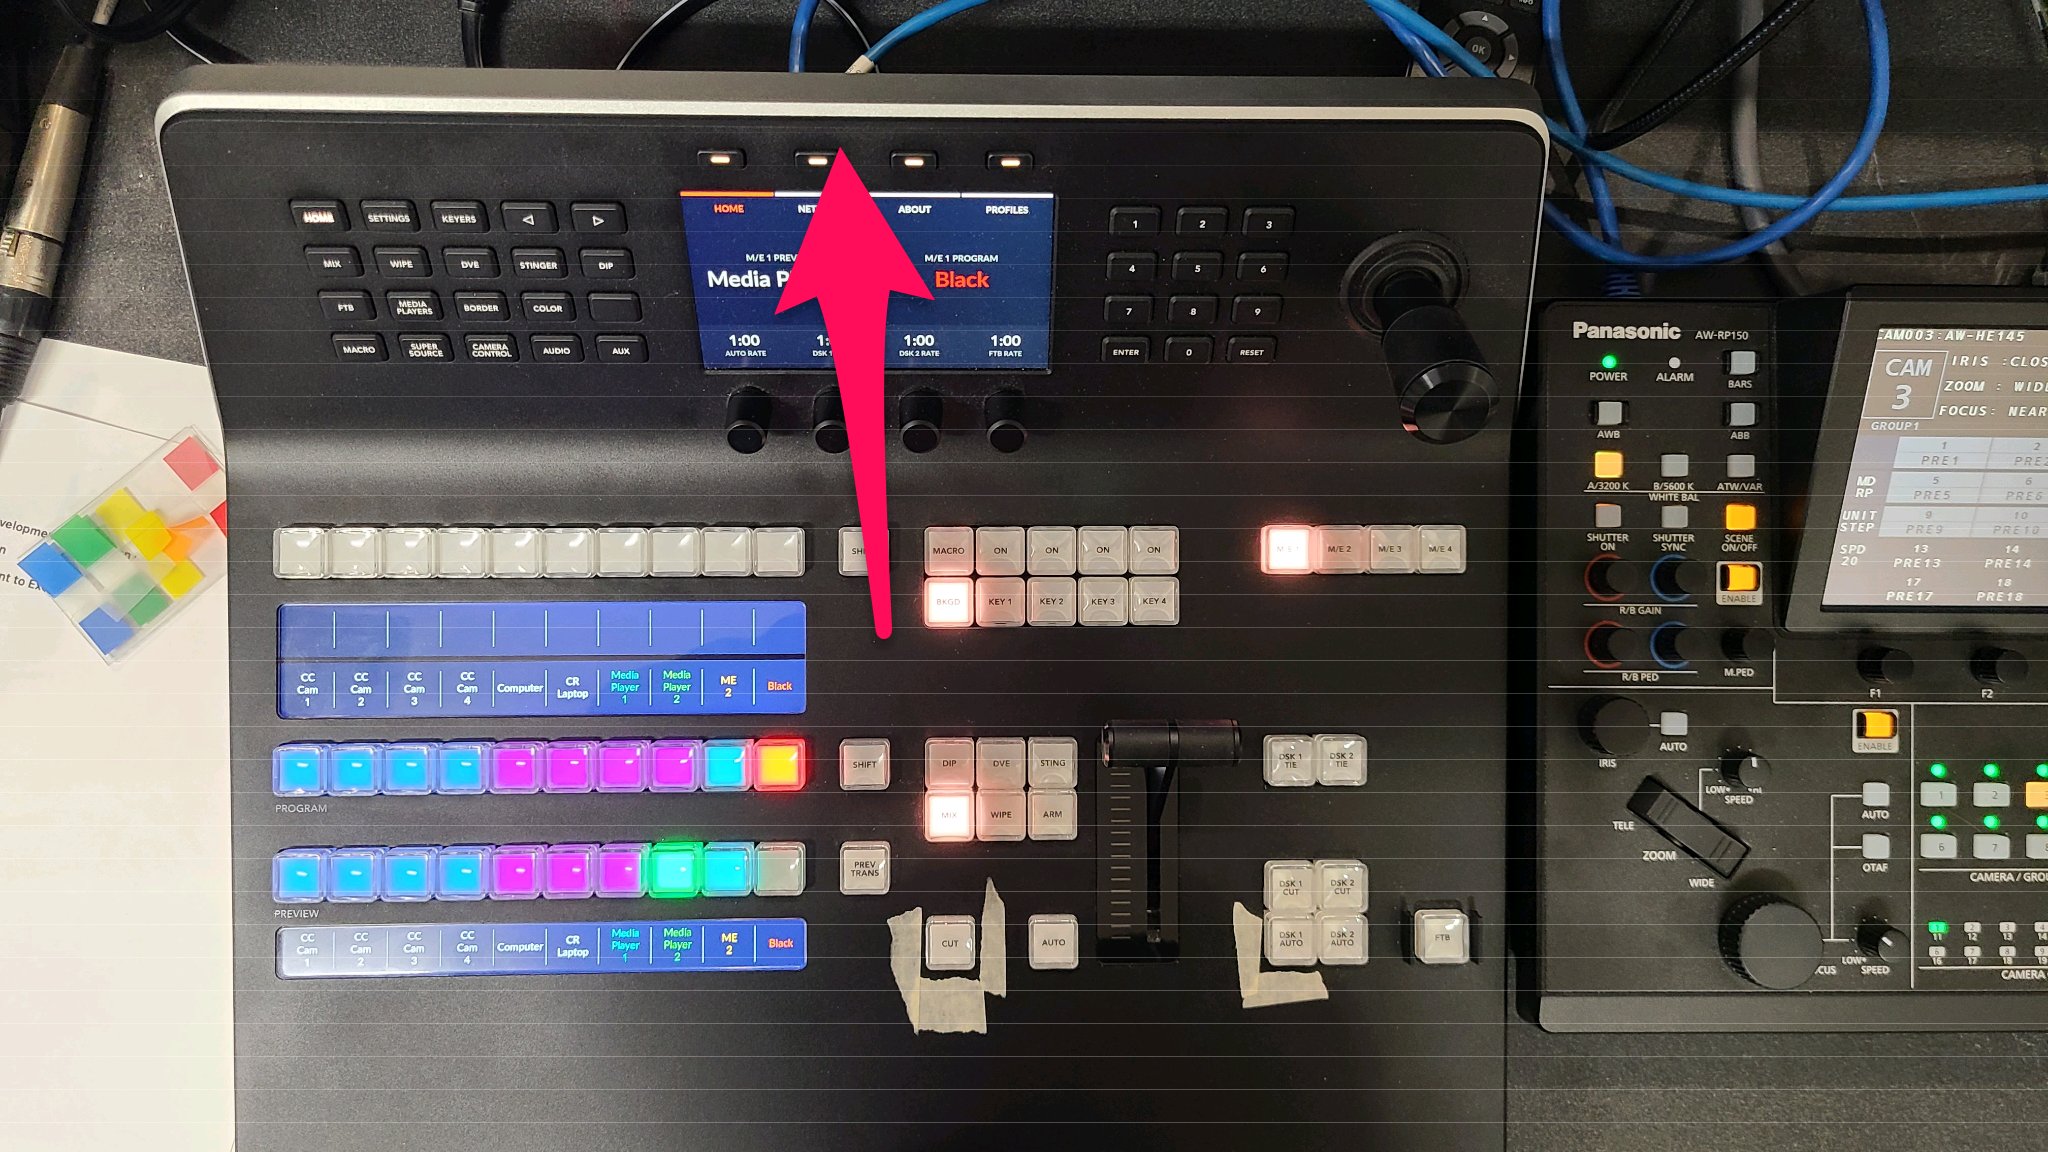
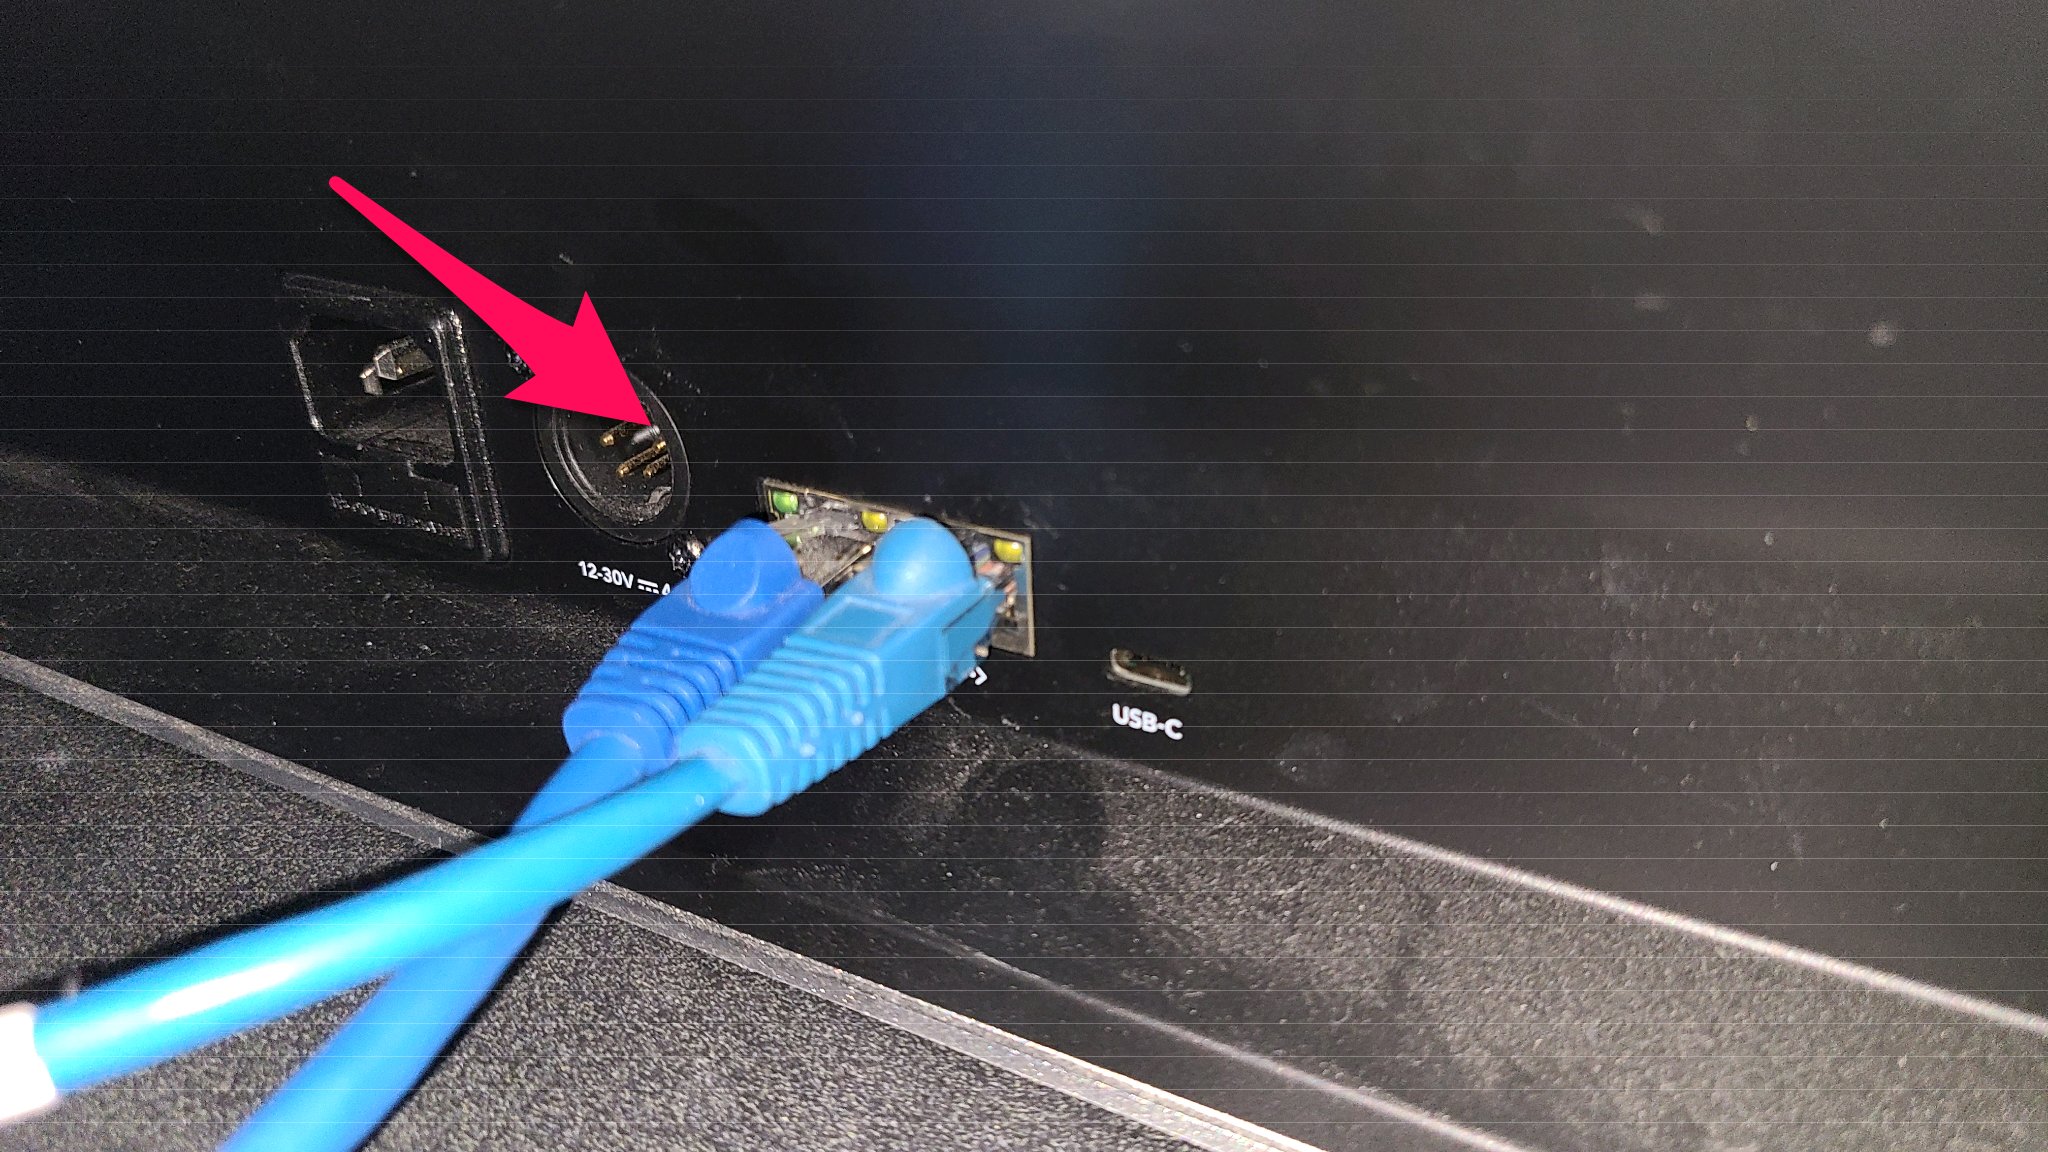
Fig. 2 Switcher Power
Camera Controller
The Camera Controller has a power switch on the back left side (see Fig. 3).
Turn it on and it will begin to boot. It will also power up all of the cameras once it completes.
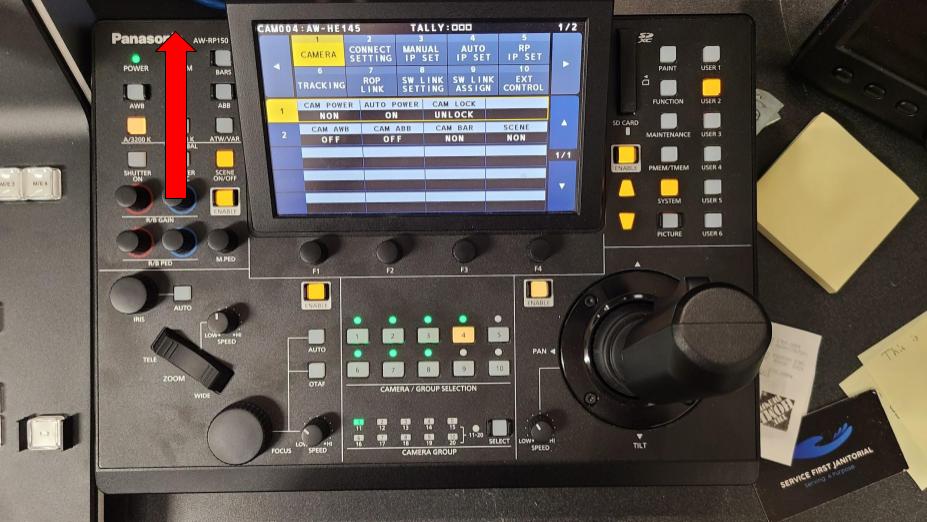
Fig. 3 Camera Controller Power
Monitors
There are two LCD monitors directly above the Switcher Controller and Camera Controller. These are used to preview video sources and other items (also known as MultiView Monitors).
Turn both of these on.
Hint
The power button for the one on the left is on the bottom (below the LG logo)
The power button for the one on the right is on the right edge (bottom button)
After about 30 seconds, all seven cameras should become visible in the left MultiView Monitor. You should see something like what is shown in Fig. 4.
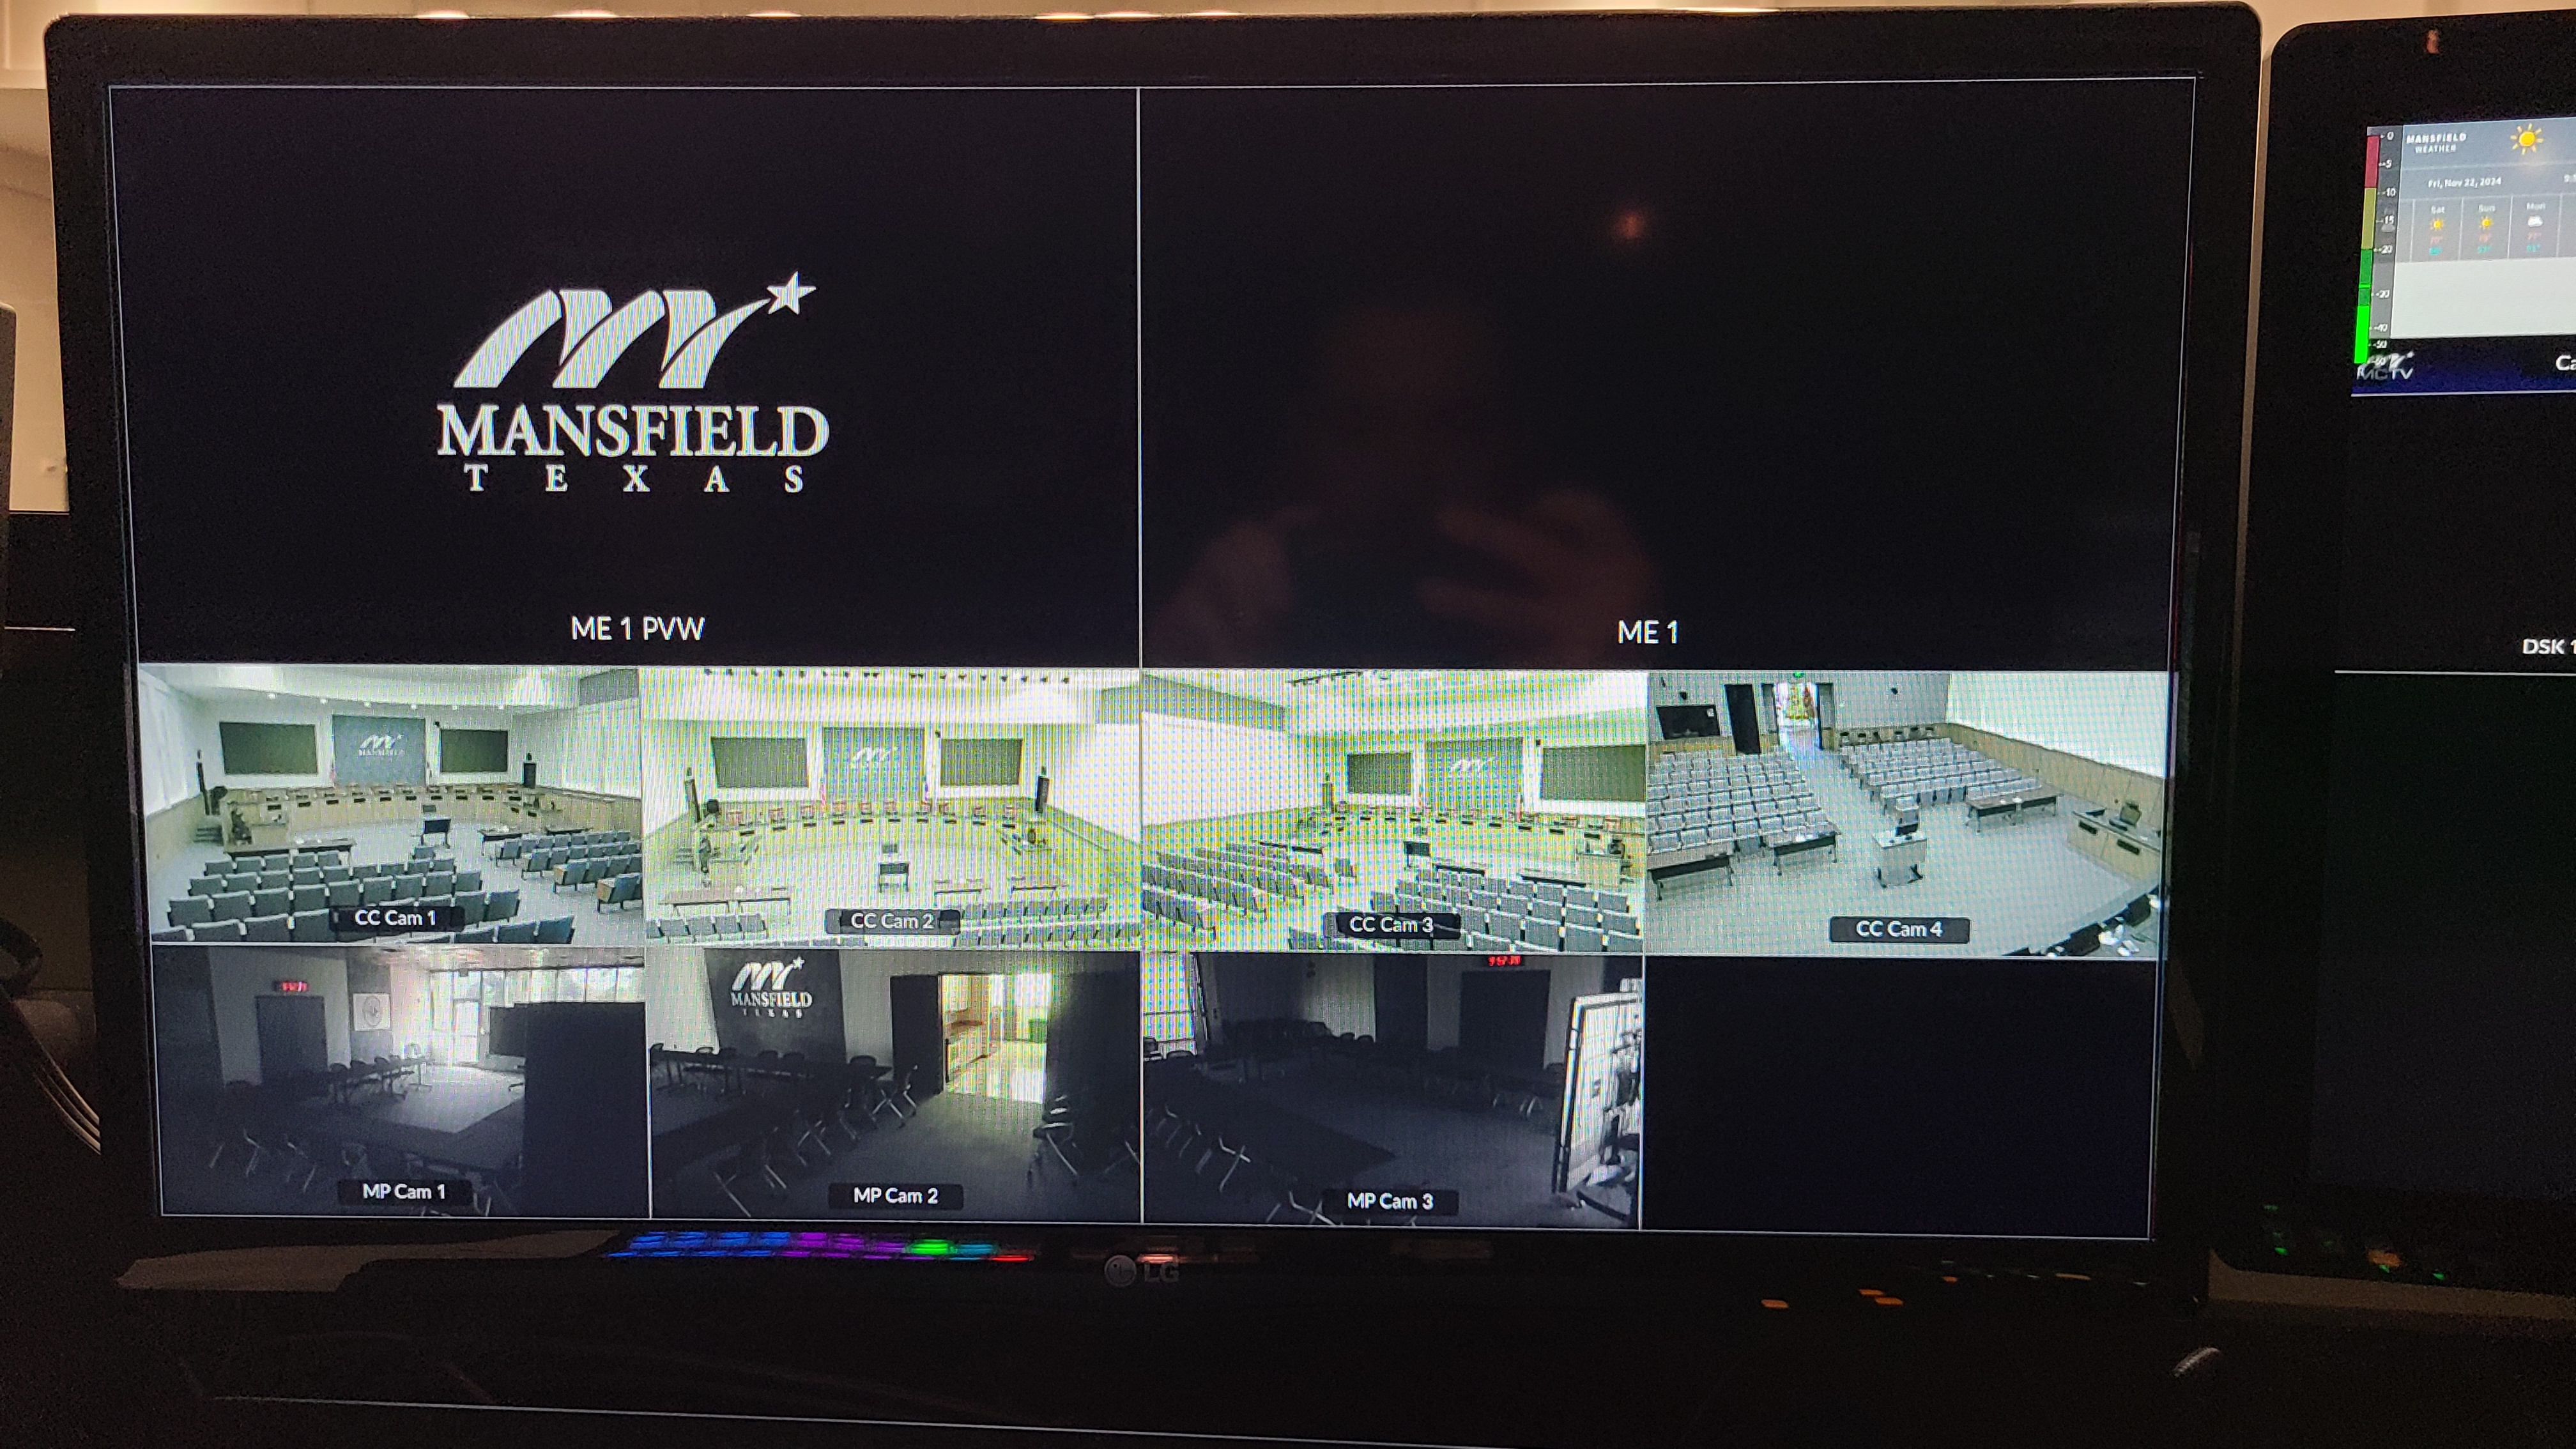
Fig. 4 Multiview Screen
Audio
Locate the Crestron Touch Panel on the desk to the left of the Switcher Controller. If it’s blank, wake it up by tapping the screen.
On the Touch Panel:
Go to the
Mic Controlspage by selecting it from the menu at the topUnmute the channel labeled “WLS-2”
Unmute the Dais and Podium channels (as needed)
You should see something like what’s shown in Fig. 5 and during the meeting, you should also be able to hear everything from the speaker above the Touch Panel.
If you cannot hear it, it won’t be recorded!
Warning
Step 1 above must not be overlooked. “WLS-2” mutes/un-mutes the audio going into the video system so it must be un-muted (NOT RED).
Note
If the meeting is in the Multi-Purpose Room, you’ll need to follow the steps in Audio.
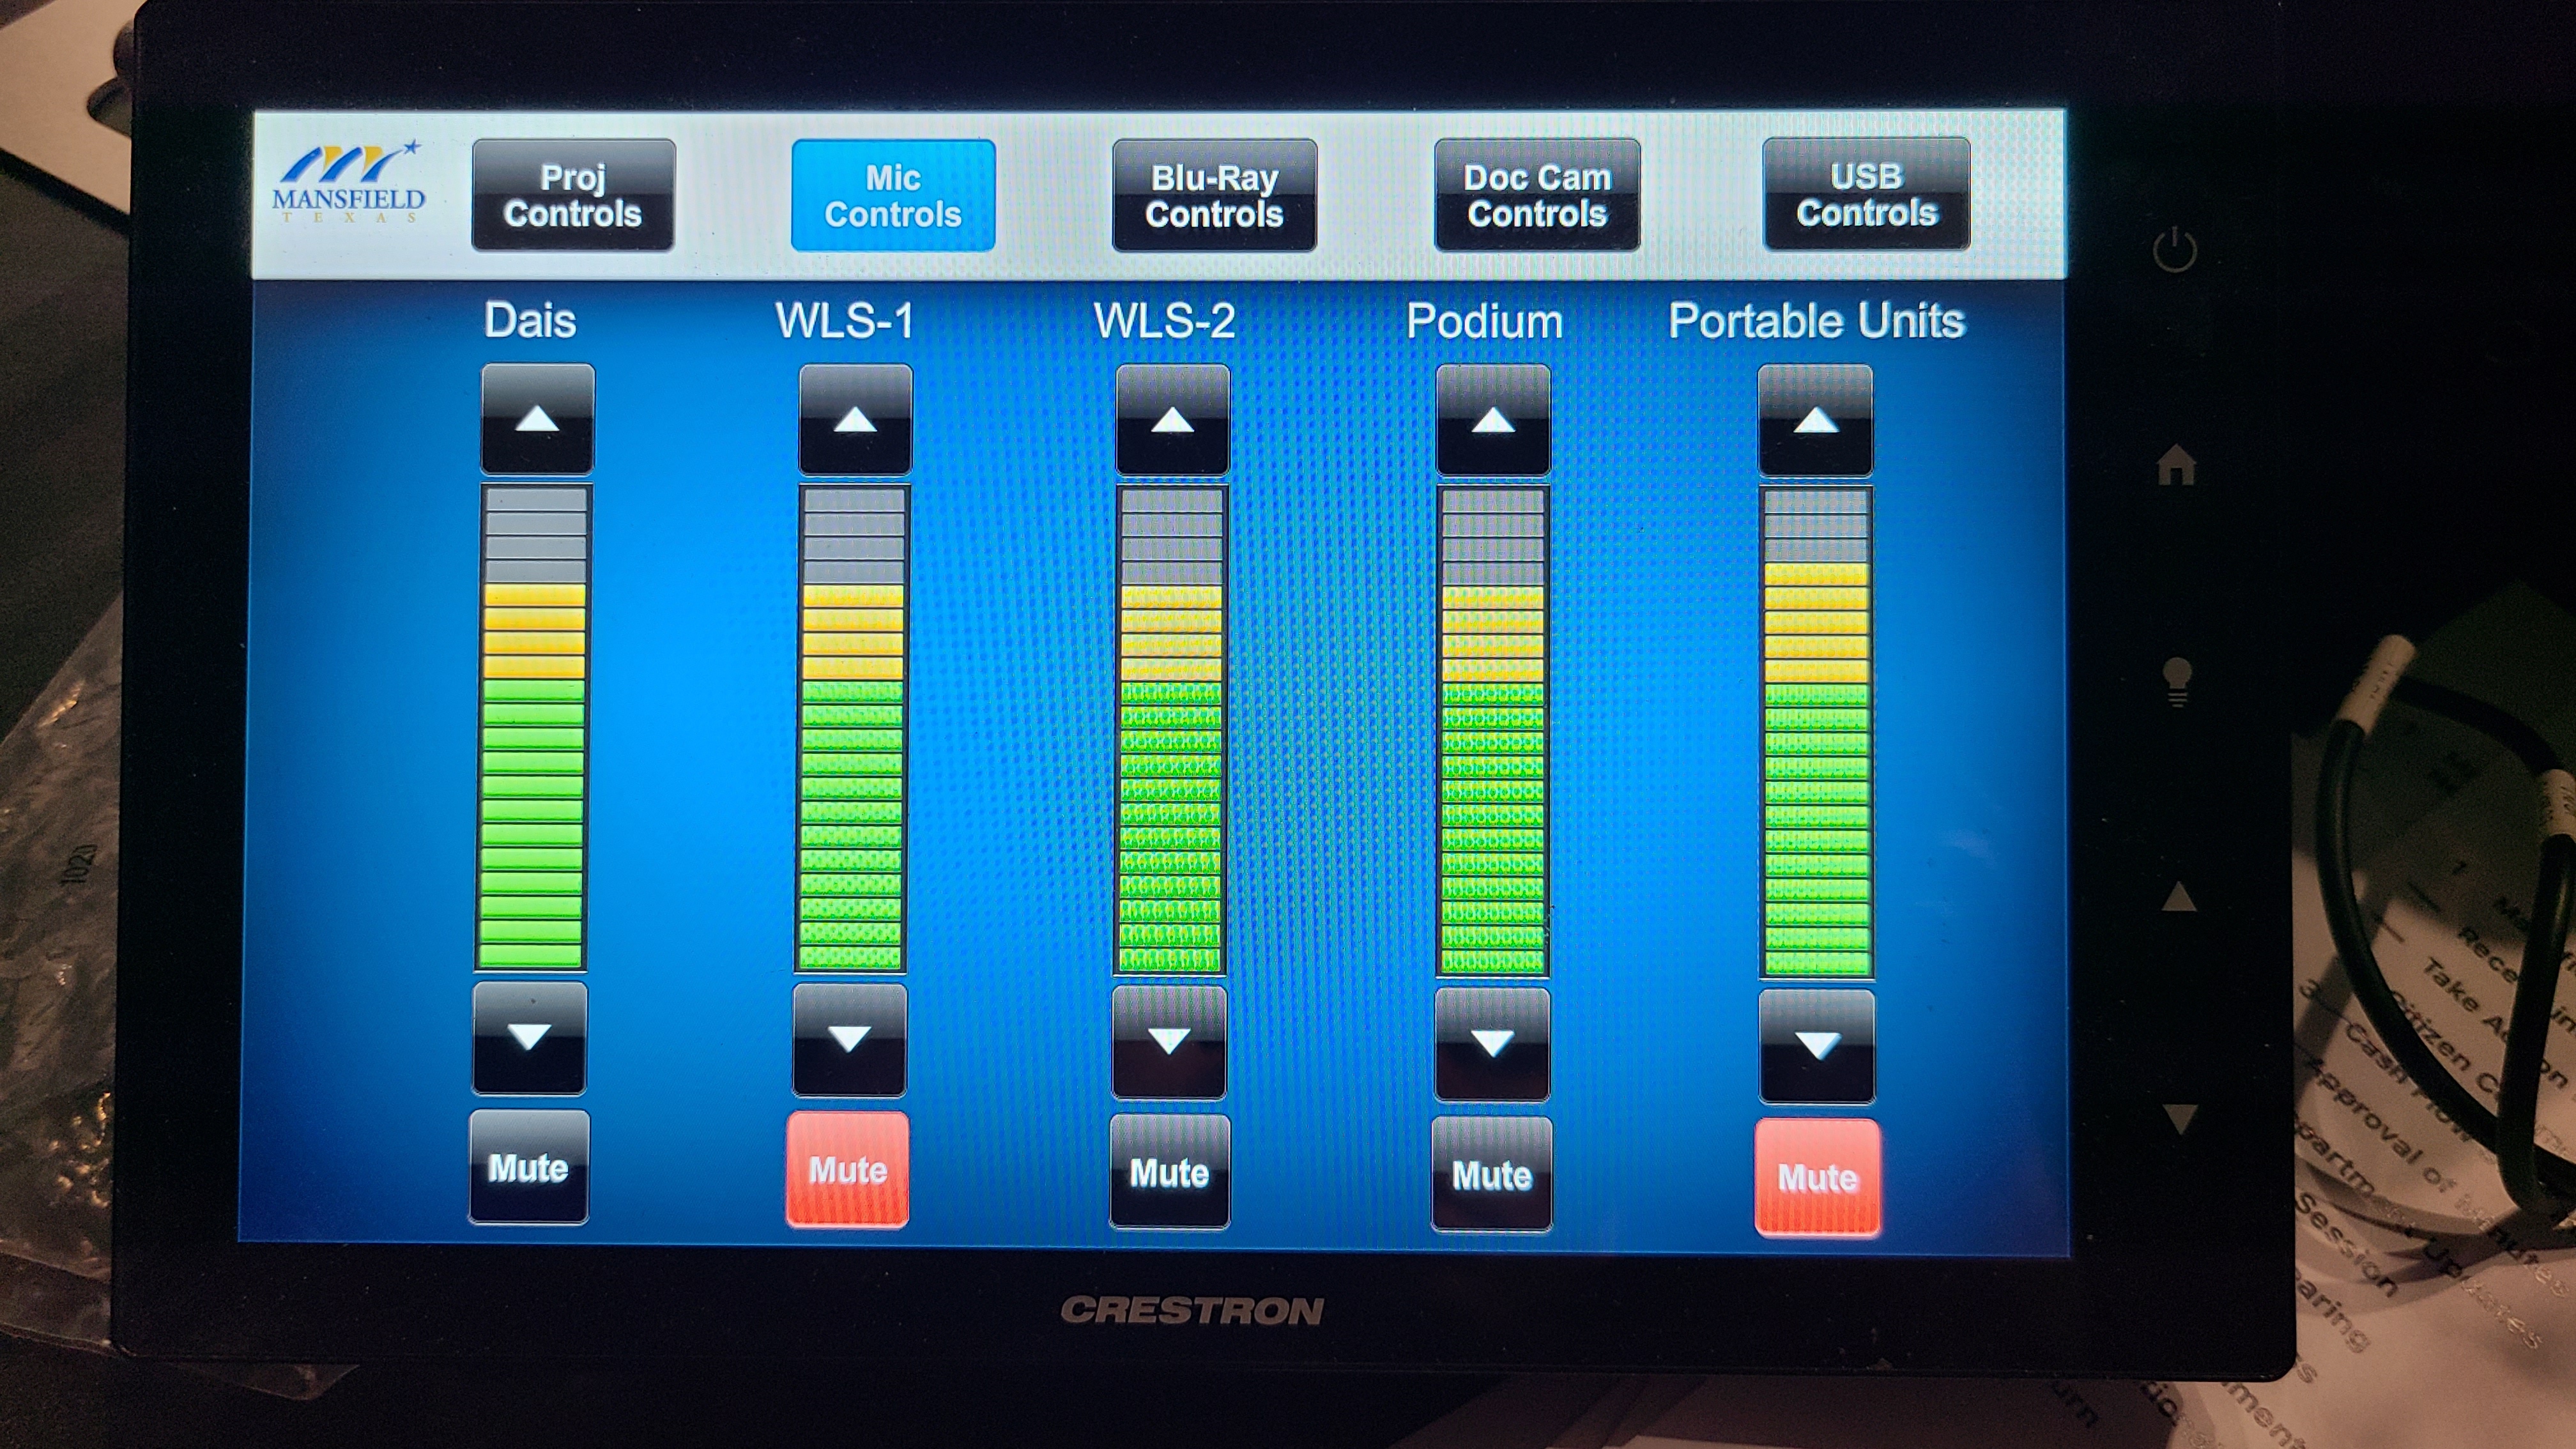
Fig. 5 Touch Panel
Live Encoder
The Live Encoder is located at the very bottom of the Wall Rack.
It should already be on.
In the unlikely event that it is not, begin to panic 🚨.
(Just kidding, it stays on all the time 😂)
Press the button on the far right of the front panel to start the stream.
It should turn blue when it’s encoding.
Hint
It’s the one that looks like a sideways Wi-Fi symbol.
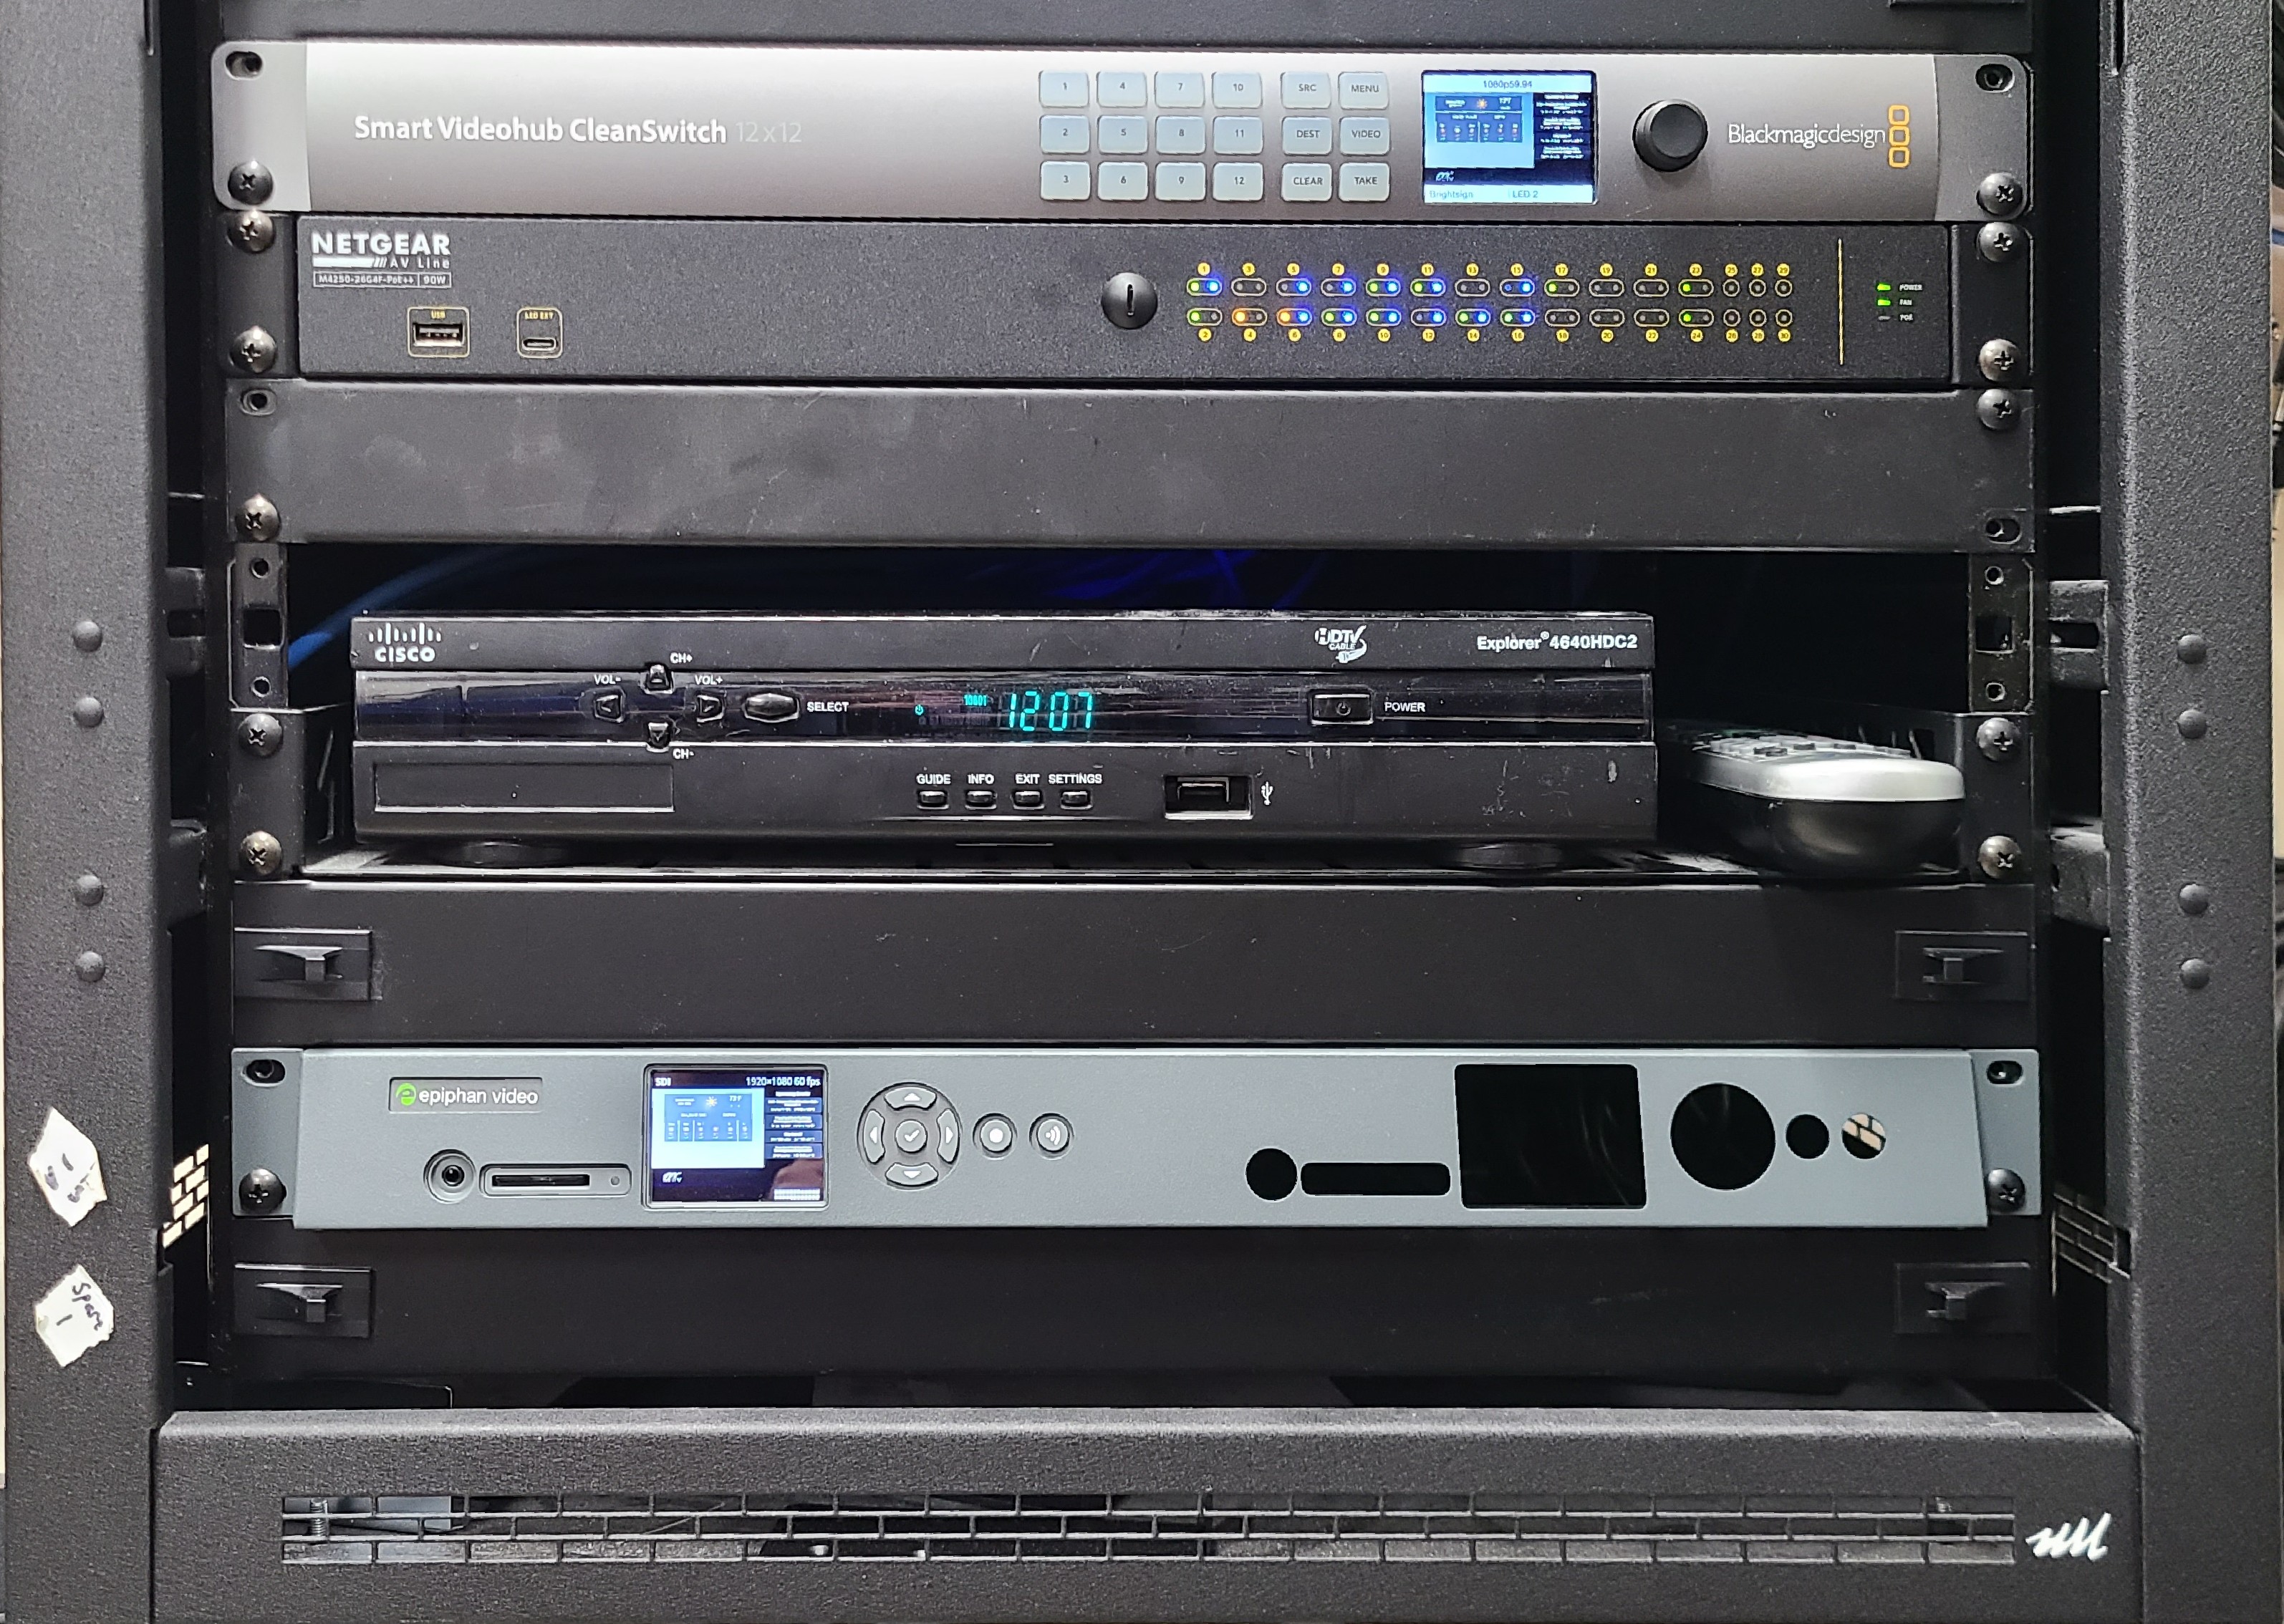
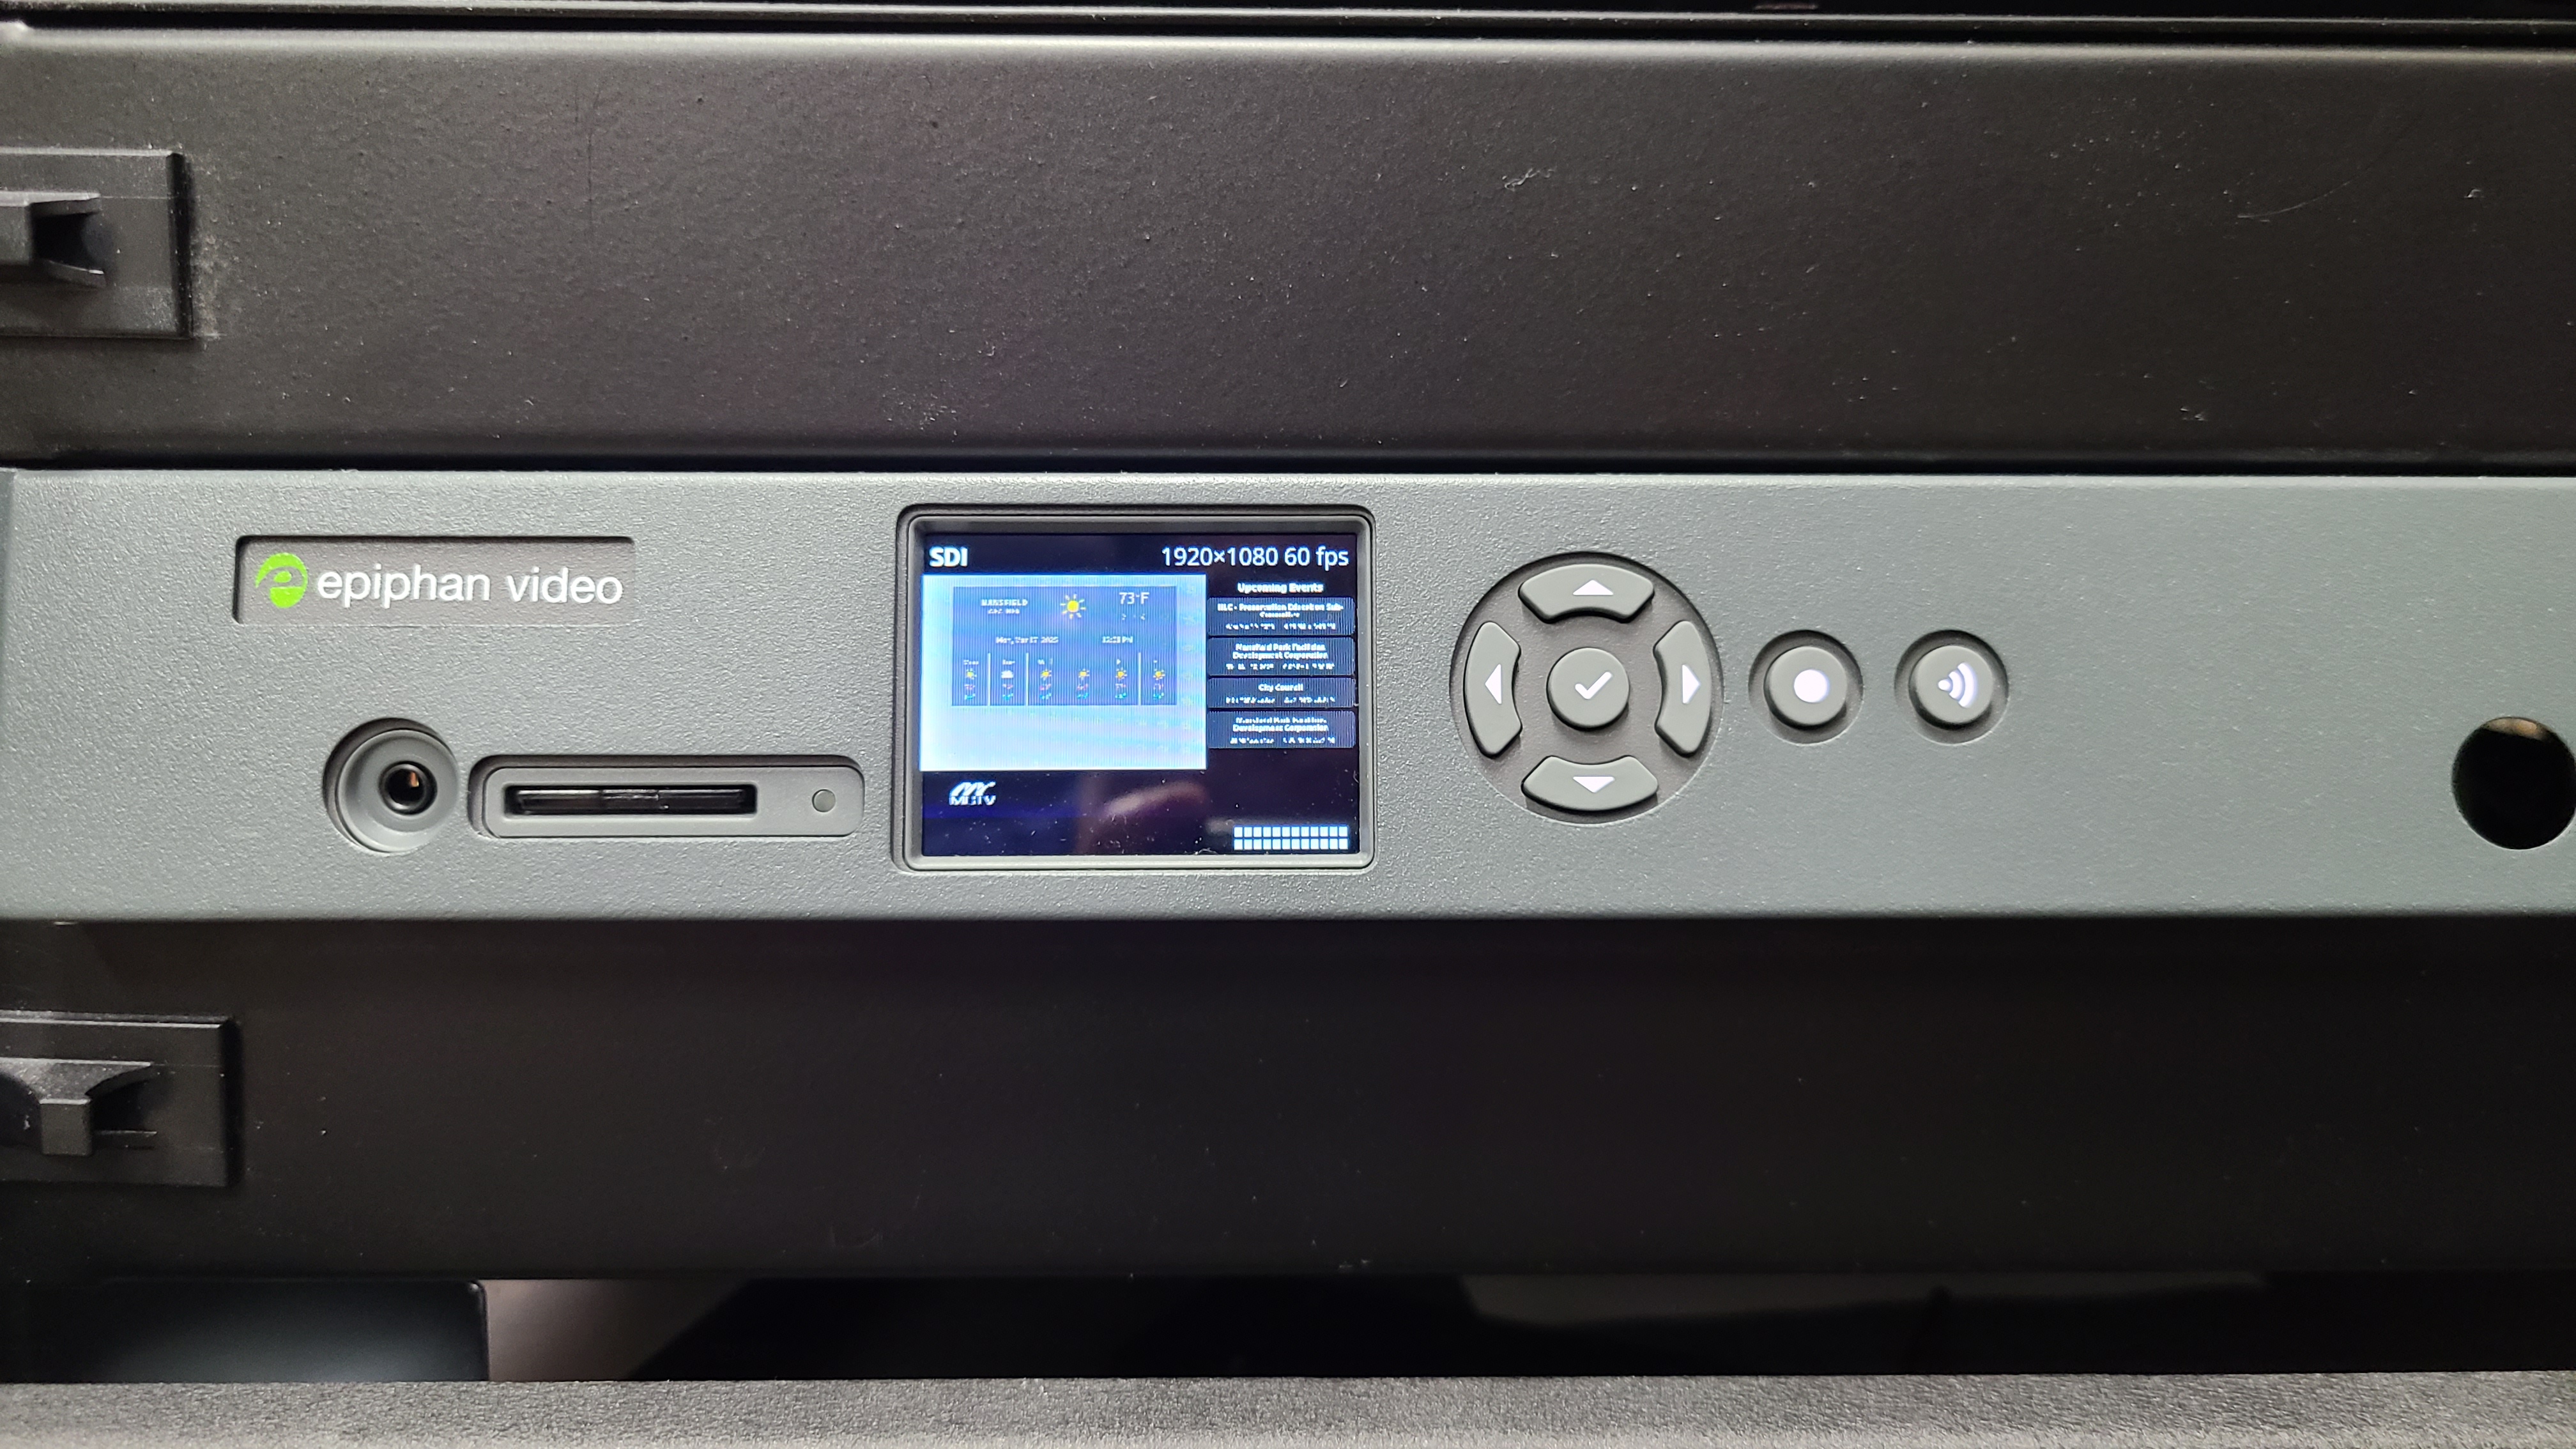
Fig. 6 Live Encoder
CivicClerk
Go to the Events page in CivicClerk and find the event for the current meeting.
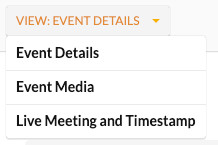
Open it, then go to the “Live Meeting and Timestamp” tab by first clicking on the
 button.
If there are no agenda items shown, you can add them by clicking the
 button.
We’ll come back to this later, but it’s good to have it open now.