Before the Meeting
Routing
The video routing must be switched from our Off Air feed to our On Air feed.
You can choose between the Web Browser or Manual methods below to do this.
Web Browser Method
You will need to access the UCI interface using a web browser. It’s important that you are on the City network for this. It can be either wired or wireless (not the guest network though).
In the next step, you will see a warning about the certificate being invalid. This is normal so don’t be alarmed.
Open a web browser and go the following URL: [1]
When the warning appears:
Click on the “Advanced” button, then click on the “Proceed to … (unsafe)” link
Once the page loads, you should see a screen similar to the one shown in Fig. 7.
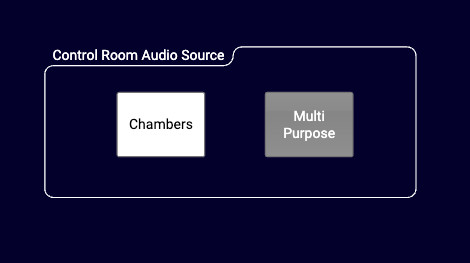
Fig. 7 UCI Interface
In the “Program Video Source” section, you’ll see two buttons labeled “Signage” and “Video Switcher”.
Select “Video Switcher” to go into On Air mode.
The screen should now look like Fig. 8. If the red indicator below the button does not light up, something likely didn’t work correctly. You’ll need to follow the steps in the Manual Method section.
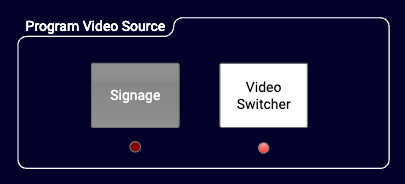
Fig. 8 UCI Video Switcher Selected
Manual Method
In the Wall Rack, find the device labeled “Blackmagic Smart VideoHub”. It’s a silver unit with white buttons and a small screen. See Fig. 9 for details.
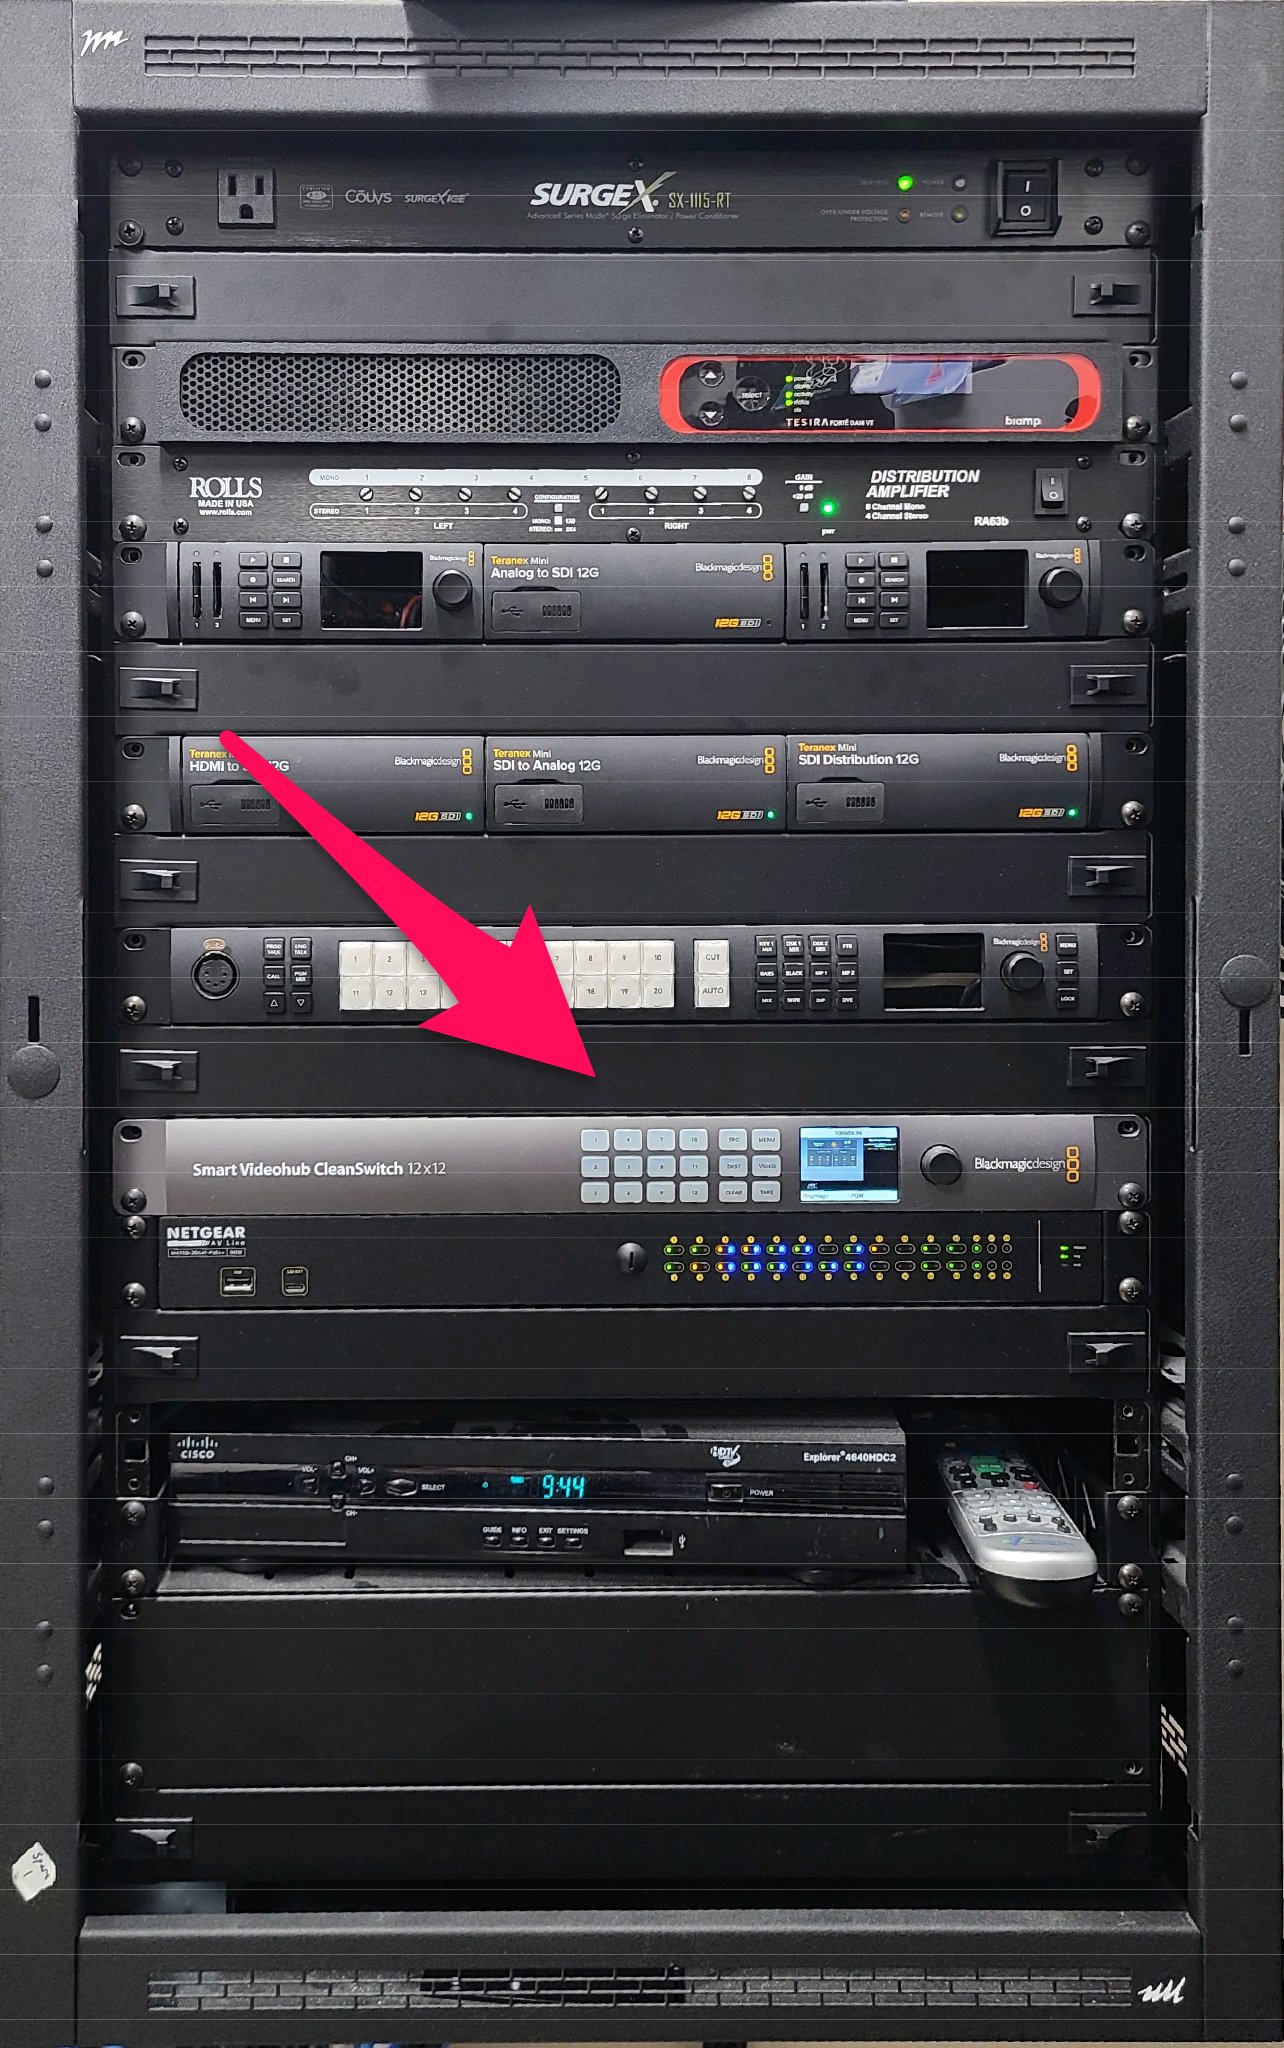

Fig. 9 VideoHub Location
We’ll refer to this as the VideoHub from now on.
On the VideoHub:
Press the
DESTbutton if it is not litPress
3(it may be lit already, but just in case)
On the screen, you should now see “Brightsign” on the bottom left and “PGM” on the bottom right
If the label on the bottom left doesn’t say “Brightsign”, that’s ok. The bottom right is the important one
Now press
SRC
The
SRCbutton should be lit and theTAKEbutton should be lit in redThe numbered button on the left probably changed, but this is OK!
Press
2
You should now see the
CLEARandTAKEbuttons blinkingThe labels on the display should say “ATEM PGM” on the left and “PGM” on the right
Press
TAKE
The buttons should now be all off and the labels on the display should still say “ATEM PGM” and “PGM”
🎉 Congratulations! You are now live, but you’ve probably noticed you’re sending a black image everywhere. We’ll get to that.
Recording
Towards the top of the Wall Rack, there are two recorders within then same row (rack unit). They’re shown in Fig. 10. We’ll call these HyperDecks from now on.
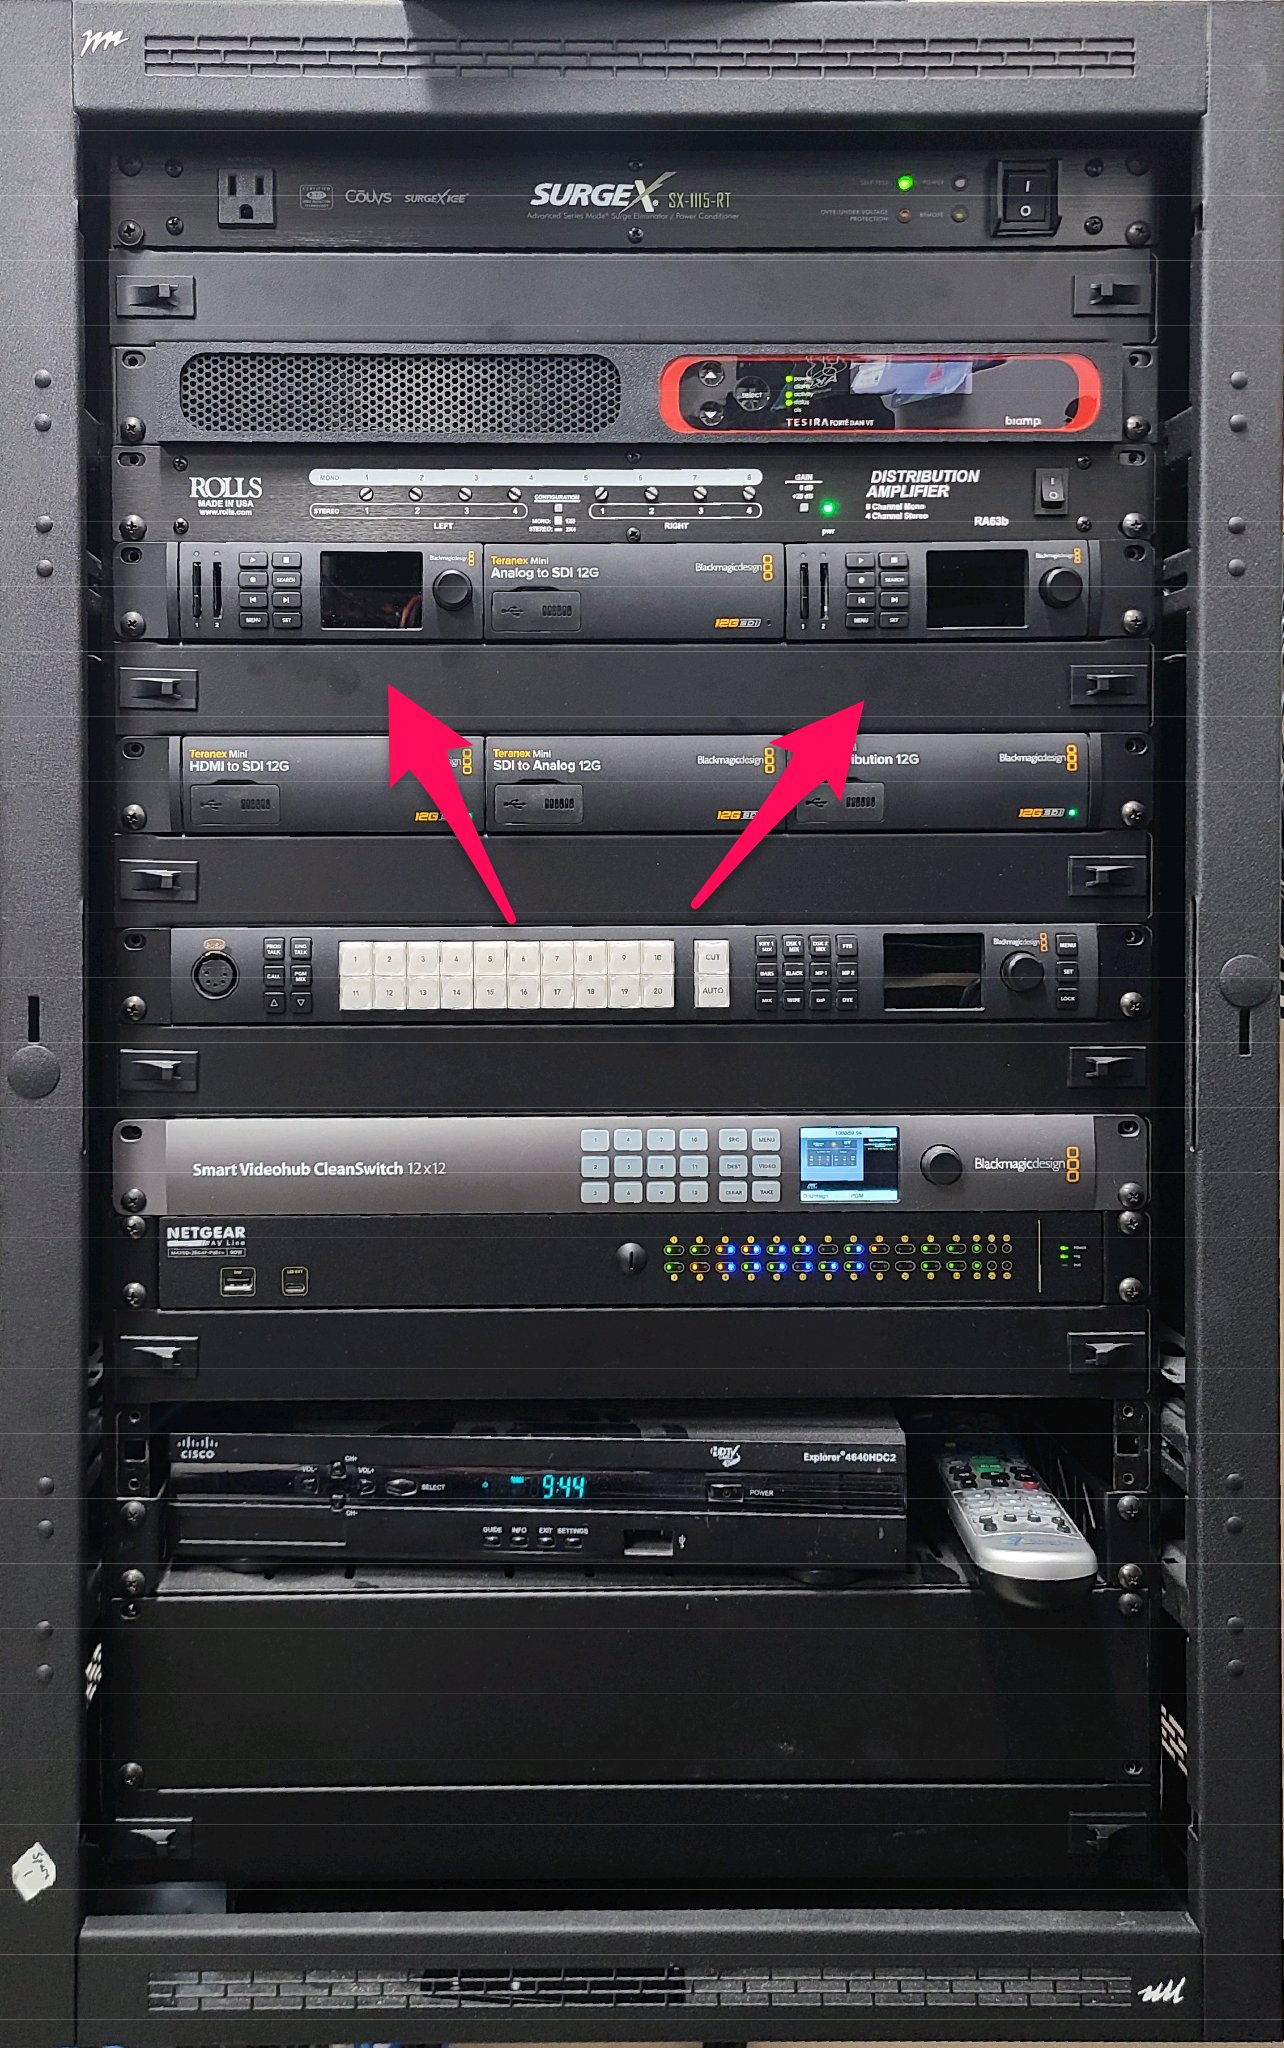
Fig. 10 HyperDeck Location
Press the record button ⏺️ on each HyperDeck
You should see it lit in red during recording
You should also see a red indicator lit above the SD card for each unit
Streaming
To start the live stream, go to the Event Page in CivicClerk.
Make sure you are on the “Live Meeting and Timestamp” tab.
Click on the
 button.
Immediately after, make sure to set the “Actual start time” by clicking on the
 button:
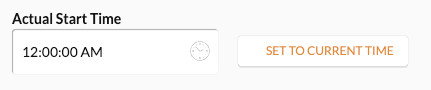
Important
🚨 Always set the “Actual Start Time” directly after clicking “Set Live” 🚨